Software used
- VMware Server 1.05 Get VMware Server
- Windows XP Pro SP2 ISO image
- Ubuntu 8.04 ISO image Get Ubuntu
You may use Operating System CD's or ISO image files of the Operating System CD's. When you configure the Virtual Machine's CD you can specify the physical CD drive of the host or browse to an ISO image of the CD on the host.
Step 1 - Make a new Virtual Machine
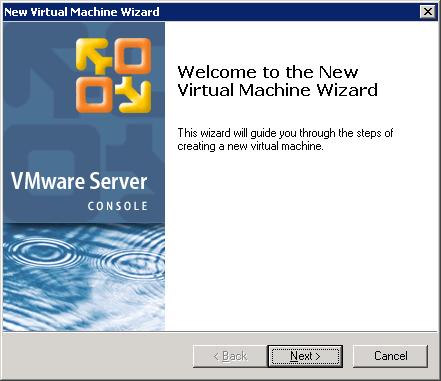
Run VMware Server
- Make a new Virtual Machine
- Choose Typical configuration
- Select Microsoft Windows as Guest Operating System, and Windows XP Professional as the version
- Select Bridged Networking for the connection
- Set disk size to 20GB, don't allocate space now (remove check), don't split into 2GB files (no check)
Step 2 - Install Windows XP Pro SP2
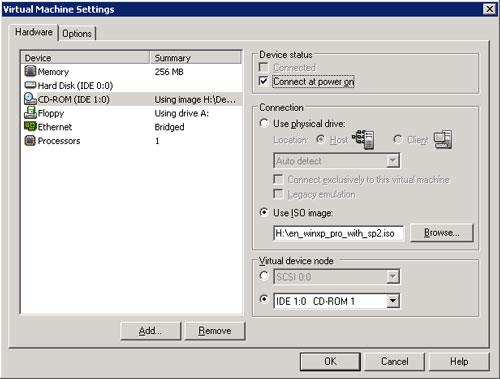
Install Windows on VM
- Edit Virtual Machine Settings
- Click on CD-ROM on list of devices
- Connect at power-on should be checked
- Choose the physical drive or ISO image depending on your media type
- Click OK to save new settings
- Start the Virtual Machine
- Default Windows install with one partition, quick format
- Activate Windows
- Shutdown Windows
Step 3 - Change CDs
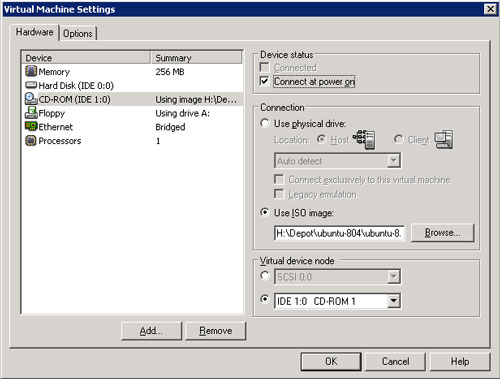
Insert Ubuntu CD
- Edit Virtual Machine Settings
- Click on CD-ROM on list of devices
- Connect at power-on should be checked
- Choose the physical drive or ISO image depending on your media type
- Click OK to save new settings
Step 3 - Change the VM boot sequence order
Read the next steps before doing them!
- Start up the Virtual Machine
- QUICKLY click inside the Virtual Machine (so it has focus)
- QUICKLY press the F2 key (before OS starts to boot)
- If you are too slow and the OS boots, shut down Windows and try again
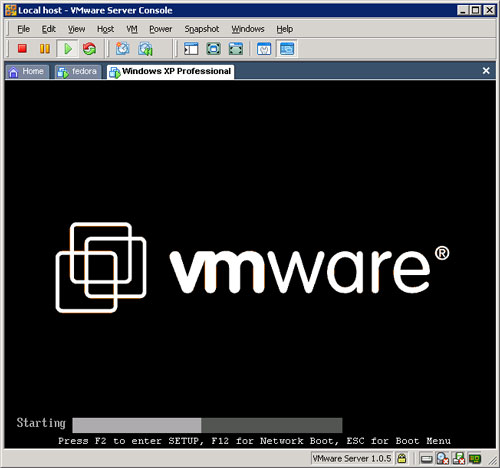
Don't dawdle -- press F2 fast before this screen disapears to change BIOS settings
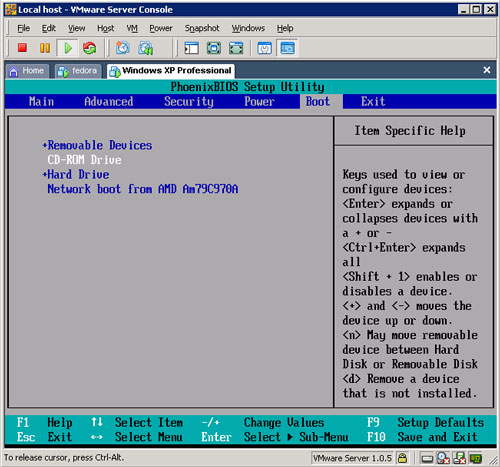
Change the boot sequence so the CD-ROM drive is checked before the hard drive for a bootable Operating System. It should looked like the screen shot above after you move the CD-ROM up.
- Right arrow over to the Boot tab
- Down arrow to the CD-ROM drive
- Hit the + key to move the CD-ROM above the hard drive
- Right arrow over to the Exit tab
- Press f10 and exit saving changes
Step 4 - Install Ubuntu
Do default Ubuntu installation
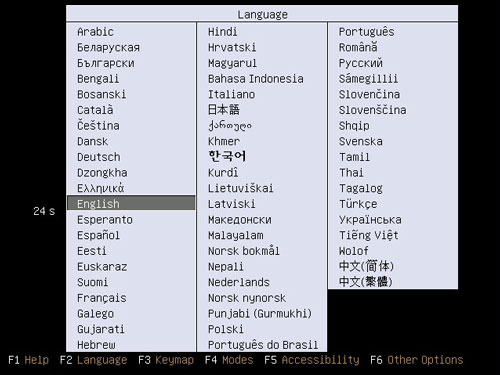
Press Enter
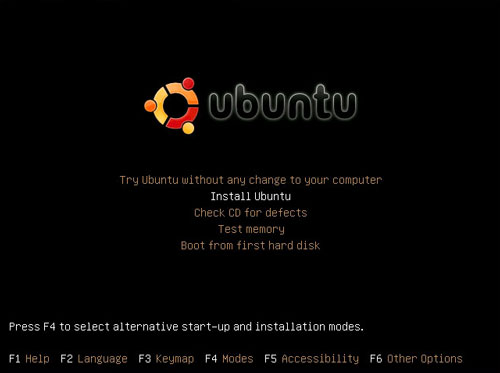
Choose Install Ubuntu, press Enter
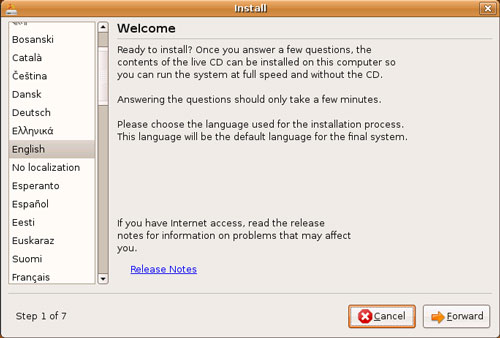
Click on Forward
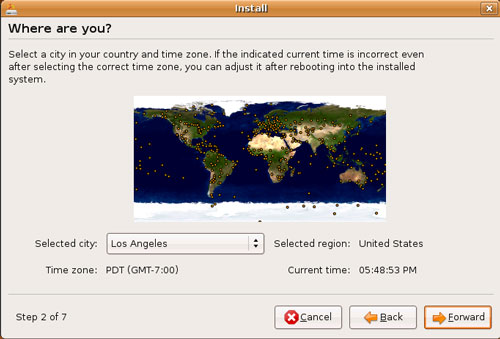
Use Los Angeles for Pacific Time Zone, click on Forward
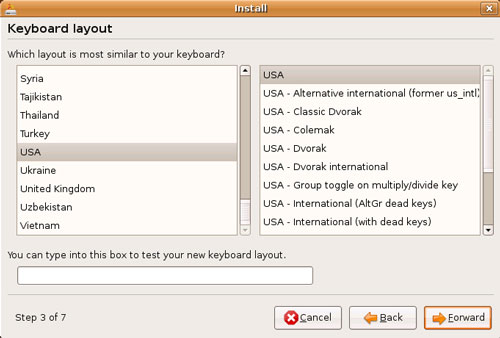
Click on Forward
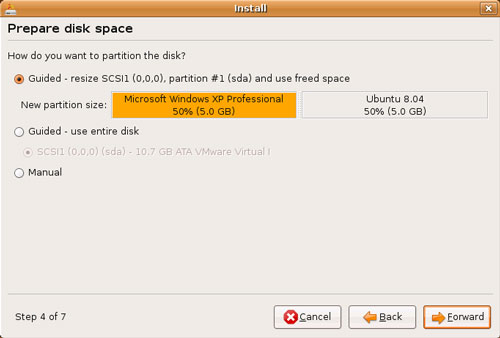
Resize the Windows and Linux partitions
- Split the drive evenly between Windows and Ubuntu
- This can be done graphically by dragging the separator between partitions
- After clicking Forward you will be prompted to confirm writing the partition changes. Click Continue to confirm.
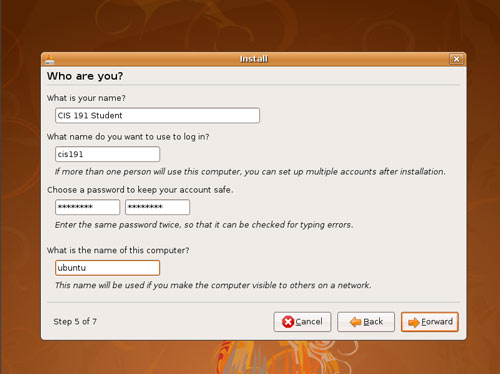
Enter user information and password, click on Forward
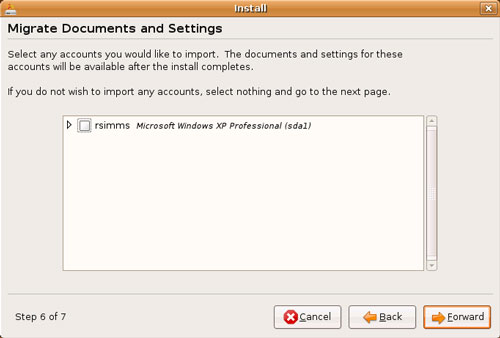
Click on Forward
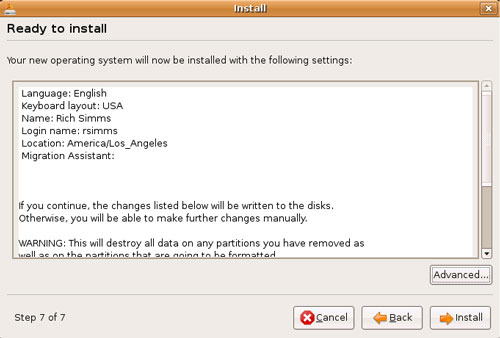
Click on Install to begin copying files
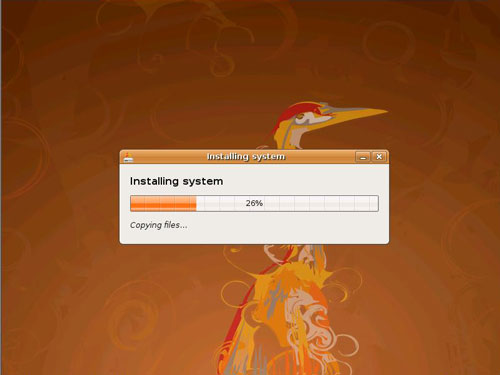
Get coffee
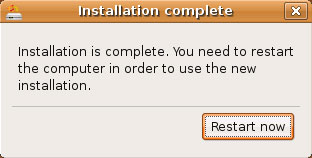
Ubuntu has finished copying all the files
>Step 5 - Remove CD and startup Ubuntu

When Ubuntu prompts to remove the CD then right click on the little CD icon and select disconnect
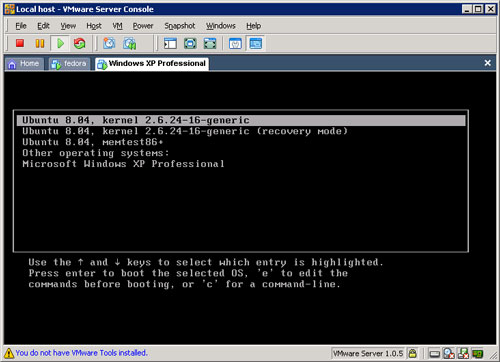
Congratulations - Ubuntu is installed and ready to go
Dual-boot Configuration Summary
root@billnus:/boot/grub# fdisk -l

Disk /dev/sda: 10.7 GB, 10737418240 bytes
255 heads, 63 sectors/track, 1305 cylinders
Units = cylinders of 16065 * 512 = 8225280 bytes
Disk identifier: 0x9f299f29

   Device Boot      Start         End      Blocks   Id  System
/dev/sda1   *           1         651     5229126    7  HPFS/NTFS
/dev/sda2             652        1305     5253255    5  Extended
/dev/sda5             652        1270     4972086   83  Linux
/dev/sda6            1271        1305      281106   82  Linux swap / Solaris
root@billnus:/boot/grub#

root@billnus:/boot/grub# mount
/dev/sda5 on / type ext3 (rw,relatime,errors=remount-ro)
proc on /proc type proc (rw,noexec,nosuid,nodev)
/sys on /sys type sysfs (rw,noexec,nosuid,nodev)
varrun on /var/run type tmpfs (rw,noexec,nosuid,nodev,mode=0755)
varlock on /var/lock type tmpfs (rw,noexec,nosuid,nodev,mode=1777)
udev on /dev type tmpfs (rw,mode=0755)
devshm on /dev/shm type tmpfs (rw)
devpts on /dev/pts type devpts (rw,gid=5,mode=620)
lrm on /lib/modules/2.6.24-16-generic/volatile type tmpfs (rw)
securityfs on /sys/kernel/security type securityfs (rw)
gvfs-fuse-daemon on /home/rsimms/.gvfs type fuse.gvfs-fuse-daemon (rw,nosuid,nodev,user=rsimms)
root@billnus:/boot/grub#

root@billnus:/boot/grub# cat menu.lst
# menu.lst - See: grub(8), info grub, update-grub(8)
#            grub-install(8), grub-floppy(8),
#            grub-md5-crypt, /usr/share/doc/grub
#            and /usr/share/doc/grub-doc/.
   .
   .
   .
< snipped >
   .
   .
   .


## ## End Default Options ##

title           Ubuntu 8.04, kernel 2.6.24-16-generic
root            (hd0,4)
kernel          /boot/vmlinuz-2.6.24-16-generic root=UUID=ba87a0c7-8129-41ac-abc6-ceedfeb7ce2f ro quiet splash
initrd          /boot/initrd.img-2.6.24-16-generic
quiet

title           Ubuntu 8.04, kernel 2.6.24-16-generic (recovery mode)
root            (hd0,4)
kernel          /boot/vmlinuz-2.6.24-16-generic root=UUID=ba87a0c7-8129-41ac-abc6-ceedfeb7ce2f ro single
initrd          /boot/initrd.img-2.6.24-16-generic

title           Ubuntu 8.04, memtest86+
root            (hd0,4)
kernel          /boot/memtest86+.bin
quiet

### END DEBIAN AUTOMAGIC KERNELS LIST

# This is a divider, added to separate the menu items below from the Debian
# ones.
title           Other operating systems:
root


# This entry automatically added by the Debian installer for a non-linux OS
# on /dev/sda1
title           Microsoft Windows XP Professional
root            (hd0,0)
savedefault
makeactive
chainloader     +1

root@billnus:/boot/grub#
