Software used
- VMware Server 1.05 Get VMware Server
- Ubuntu 8.04 ISO image Get Ubuntu
You may use Operating System CD's or ISO image files of the Operating System CD's. When you configure the Virtual Machine's CD you can specify the physical CD drive of the host or browse to an ISO image of the CD on the host.
Step 1 - Make a new Virtual Machine
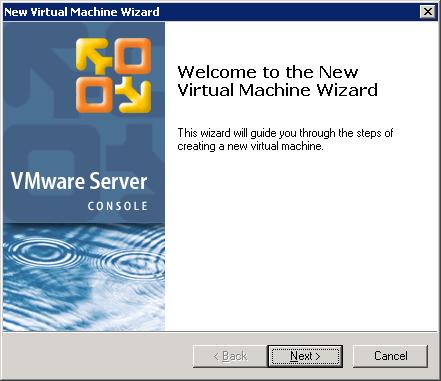
Run VMware Server
- Make a new Virtual Machine using wizard
- Choose Typical configuration
- Select Linux Operating System and Ubuntu as the version.
- Select Bridged Networking for the connection
- Set disk size to 5GB, don't allocate space now (remove check), don't split into 2GB files (no check)
Step 2 - Select Ubuntu CD
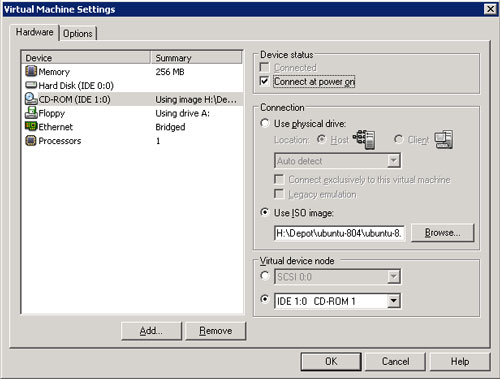
Select Ubuntu CD
- Edit Virtual Machine Settings
- Click on CD-ROM on list of devices
- Connect at power-on should be checked
- Choose the physical drive or ISO image depending on your media type
- Click OK to save new settings
Step 3 - Install Ubuntu
Start up the Virtual Machine
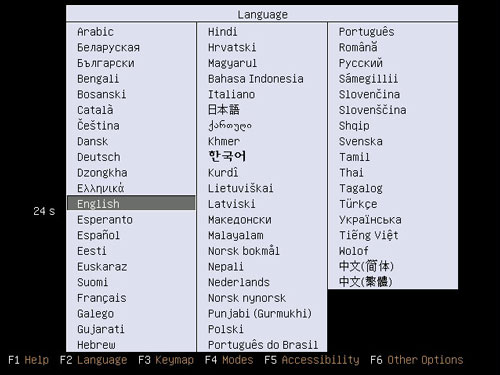
Select language and press Enter

Choose Install Ubuntu, press Enter, then watch progress bar zip back and forth. Next the brown wallpaper with large bird is displayed followed by the first step of the installation wizard:
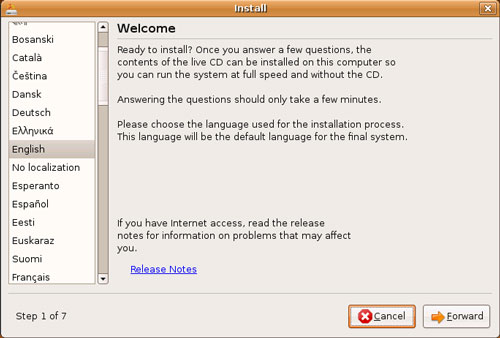
Click on Forward
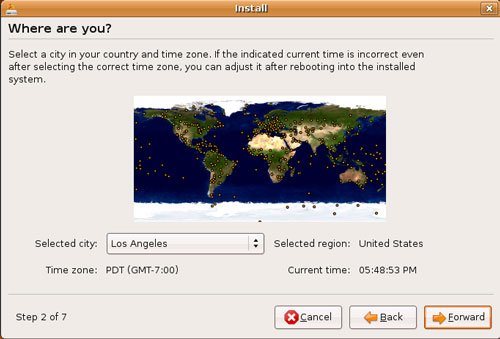
Use Los Angeles for Pacific Time Zone, click on Forward

Click on Forward
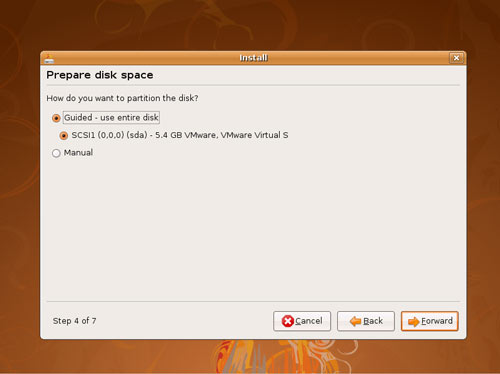
Use Guided - use entire disk and SCSI1 (0.0.0) (sda) ..., click on Forward
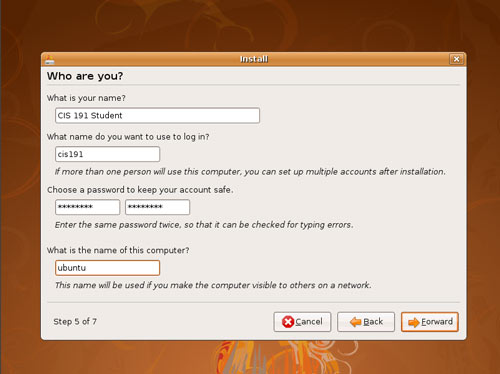
Enter user information and password, click on Forward
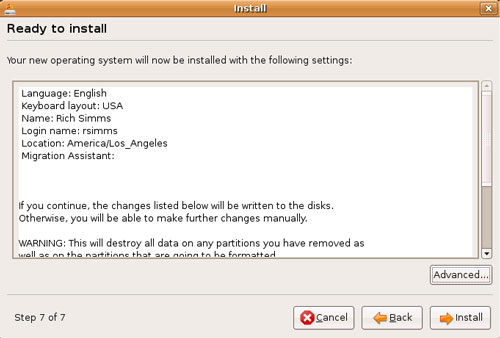
Click on Install to begin copying files
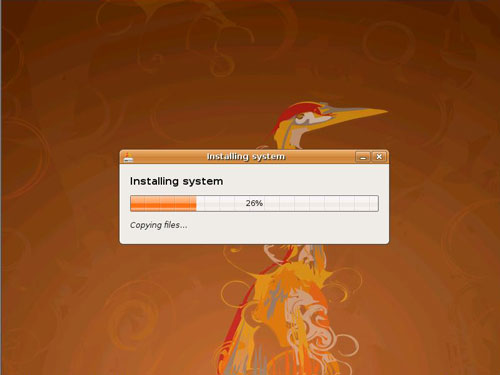
Get coffee
Ubuntu has finished copying all the files
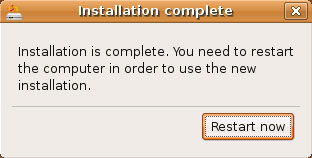
Step 4 - Remove CD and startup Ubuntu
When Ubuntu prompts to remove the CD do the following:
- Press Ctrl and Alt together to release the mouse
- Right click on the little CD icon and select Disconnect
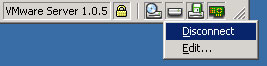
Then click back inside the window and press Enter

Ubuntu starting up
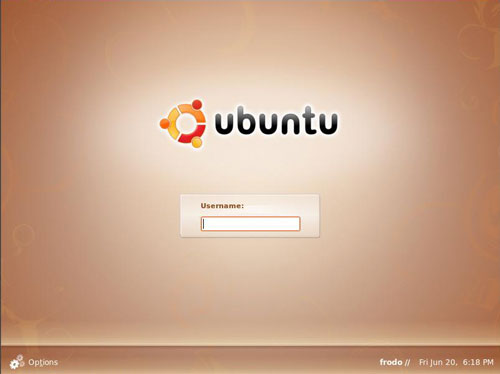
Congratulations - Ubuntu is installed and ready to go