Software used
- VMware Server 1.05 Get VMware Server
Step 1 - Run VMware Server
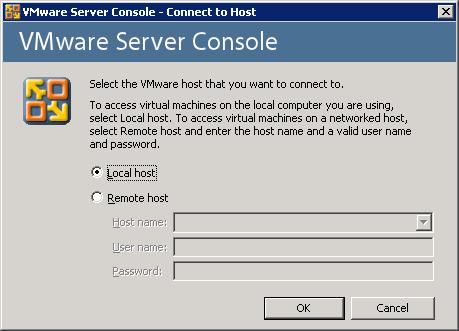
Select localhost and click OK
Step 2 - Create new VM
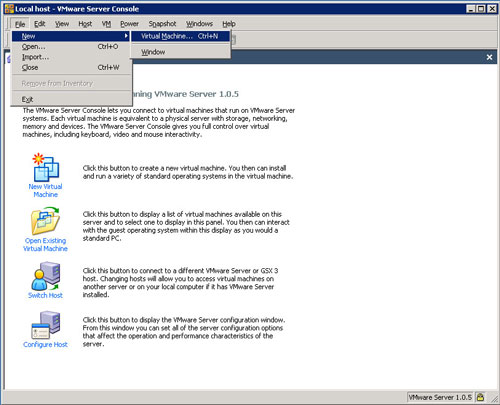
Under the File menu create a new Virtual Machine
Step 3 - Start the wizard
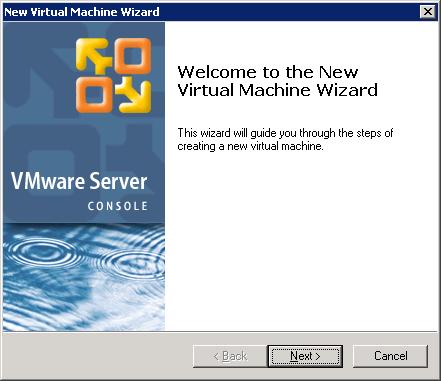
Click Next to start
Step 4 - Create new VM
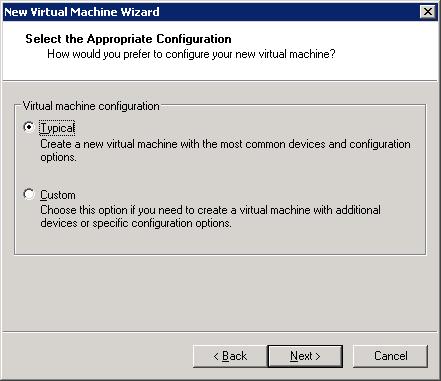
Choose Typical
Step 5 - Choose OS
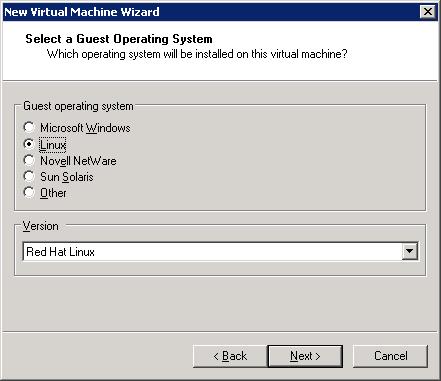
Select Linux. This does not install Linux but lets VMware know that Linux OS will be installed later
Step 6 - Choose name and location for VM files
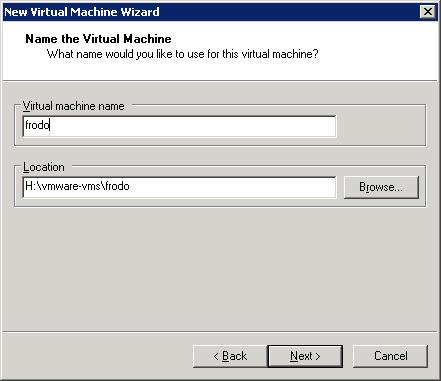
Choose a name. This can be the same as what the hostname will be when the OS gets installed later.
Step 7 - Choose storage
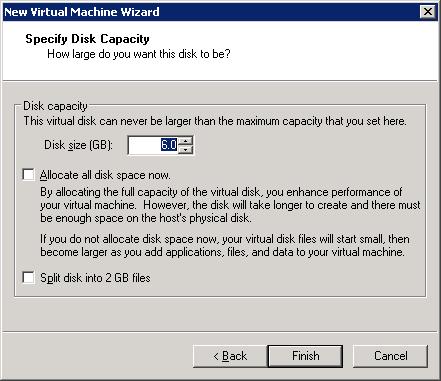
For RH9, 6 GB is a good minimum. Don't allocate space now as this will make a huge VM.
Step 8 - Choose network option
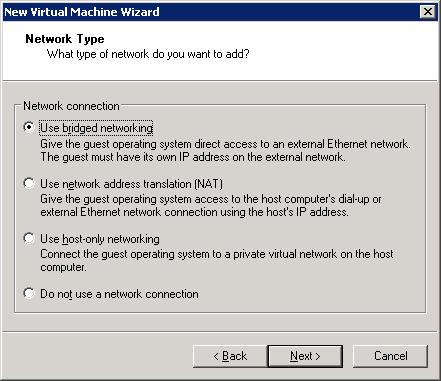
Bridged networking lets the VM share the NIC with the host even though it will have its own IP address.
Step 9 - New VM now has a tab
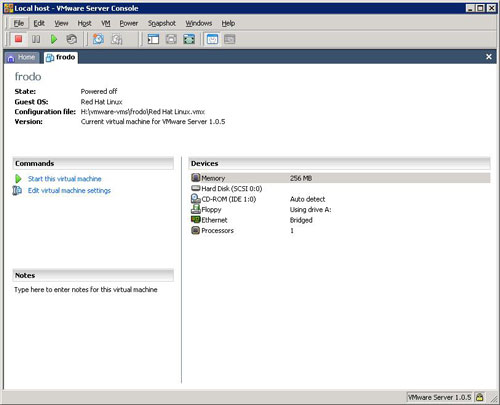
The new VM has its own tab. At this point the new VM has an empty disk drive and is ready for an operating system to be installed.