Software used
- PuTTY SSH client (download)
Step 1 - Run PuTTY and login
The default appearance is 10 point Courier New font with white text on a black background. The translation is ISO-8859-1 which may garble the ' displayed in "Linux User's Manual".

Right click on the top of the window to get a menu.
Step 2 - Get to Reconfiguration window

On the pop-up menu select the Change Settings... button.
Step 3 - Make font changes

To change the font click first on Appearance in the left panel, then on the Change... button

Select Size 12 and click OK to boost font size.
Step 4 - Make translation changes (to fix man pages)
To change the translation click first on Translation in the left panel.

Select UTF-8
Step 5 - White background with dark text
To change Colors click first on Colours in the left panel then Default Foreground in the right side.
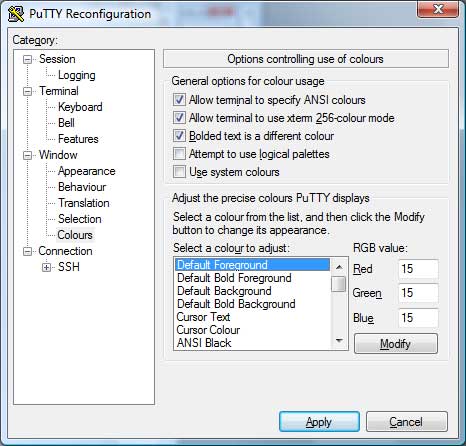
Change to 15 for Red, Green and Blue
Next click on Default Bold Foreground in the right side.

Change to 0 for Red, Green and Blue
Next click on Default Background in the right side.

Change to 244 for Red, Green and Blue and click Apply to see the new look

Step 6 - Save settings to use in future sessions
To save settings, right click again on top window bar, select Change Settings... to see the PuTTY reconfiguration window.

Type in a name for the Saved Session and click the Save button followed by the Apply button. In future PuTTY sessions load this Saved Session name again to have all the settings return to your preferred values.